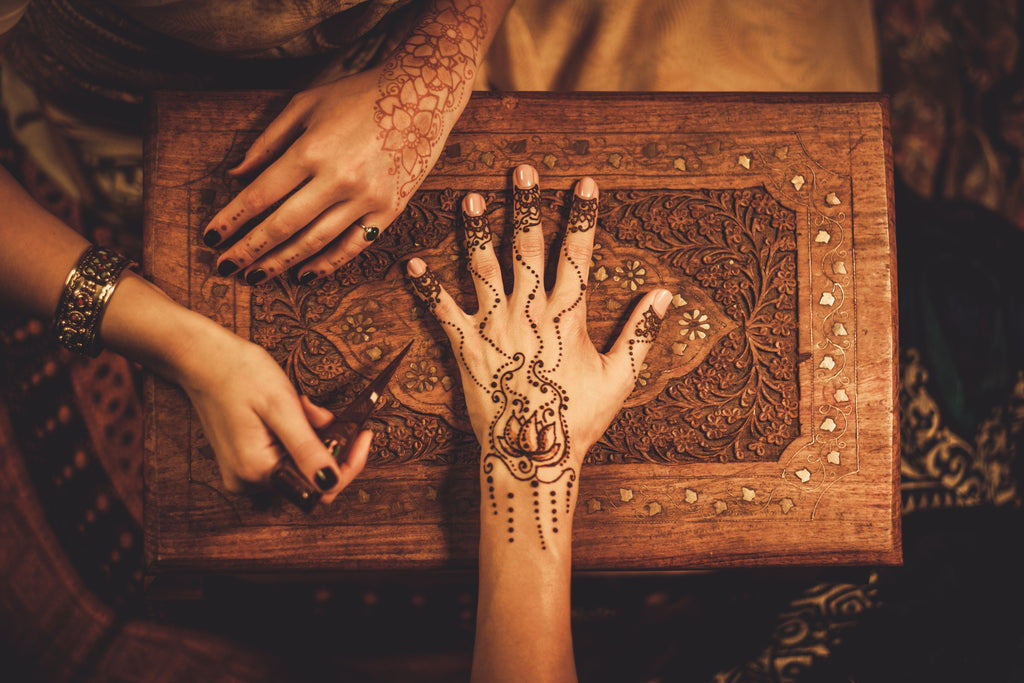
Henna or “Mendhi” skin art has been created for thousands of years. Experienced henna artists free hand intricate designs on hands, feet and body to create wonderful floral, geometric and patchwork designs from deep reddish brown to light pinkish beige. Botanical Crown pure henna powder is finely ground and contains high lawsone (dye) content creating vibrant henna skin designs which last. If you are a beginner it is a good idea to practice making lines, half-cirlces, loops and V-shapes to get the hang of it. There are also stencils patterns books available on the web to help you, especially if you are applying henna art to yourself.
Pre-Step
Complete step 1 with a small amount and perform a skin patch test on area of application if this is your first time using henna on your skin.
Step 1
Prepare henna paste with a mix of henna powder and ¼ cup of lemon juice and mix vigorously until the mixture is smooth with no lumps and becomes the consistency of mashed potatoes. Add 1.5 teaspoons of sugar to mix, to help mixture adhere to the skin. Keep stirring until the smooth and silky texture is obtained.
Step 2
Cover paste with plastic wrap and kept in a warm place for about 24 hours so that the dye releases, and color deepens. After 24 hours of resting, it is ready to be applied to the skin.
Step 3
Add 4 drops of high quality tea tree, cajeput or ravensara essential oil (or other pure essential oil with high concentrations of terpineol) to henna paste and mix well. This step helps deepen a dark henna stain on skin.
Step 4
Place paste in cellophane cone, or corner of a plastic baggie perforated with a small hole in corner. Apply as desired to skin.
